Jun 19, 2020

Attaining that Edwardian Silhouette

It's been a while since my first post about the pretty pink Edwardian dress, but I've been making lots of progress on the project! I've been posting about it on my Instagram stories, so go take a look at my highlights if you missed them!) and taking lot's of pictures along the way, which I plan on using to make a couple of in-depth posts in the future.

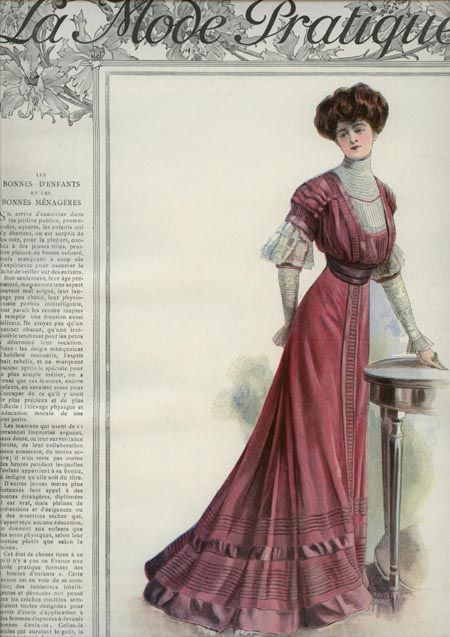
Today, however, I want to show how I am attaining that ever so iconic Edwardian S-Bend silhouette, as well as a quick update on how the project as a whole is going.

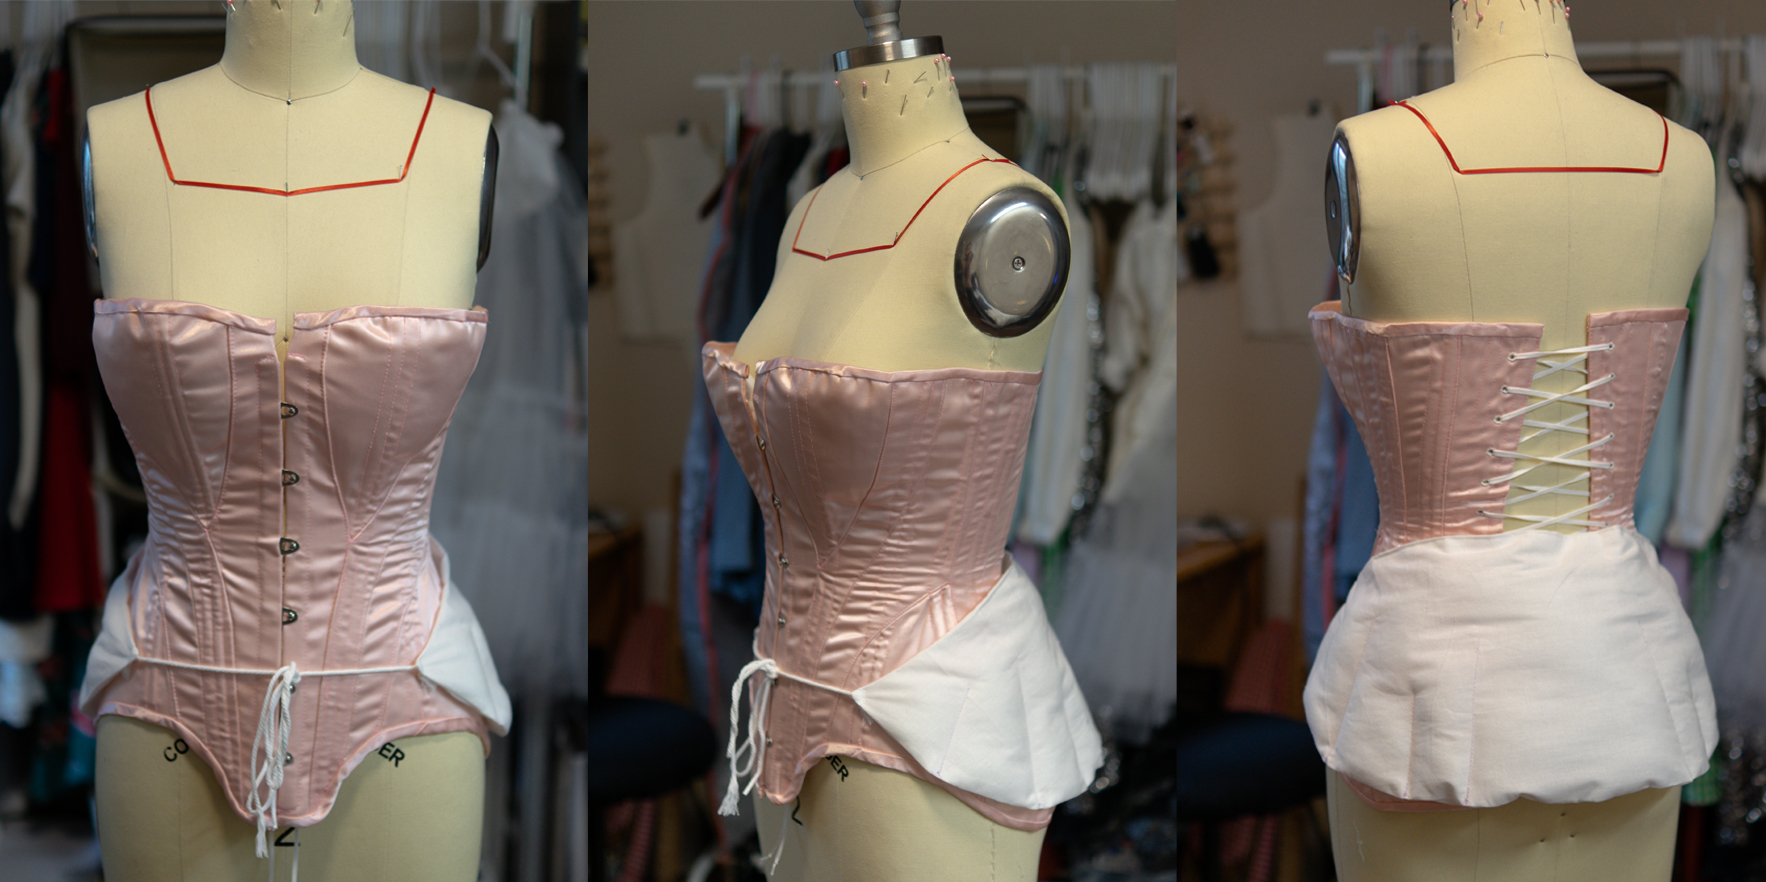
The undergarments I'm using start with the corset. I made my corset from the Truly Victorian pattern a few years back. While it isn't particularly well made, it serves it's purpose.

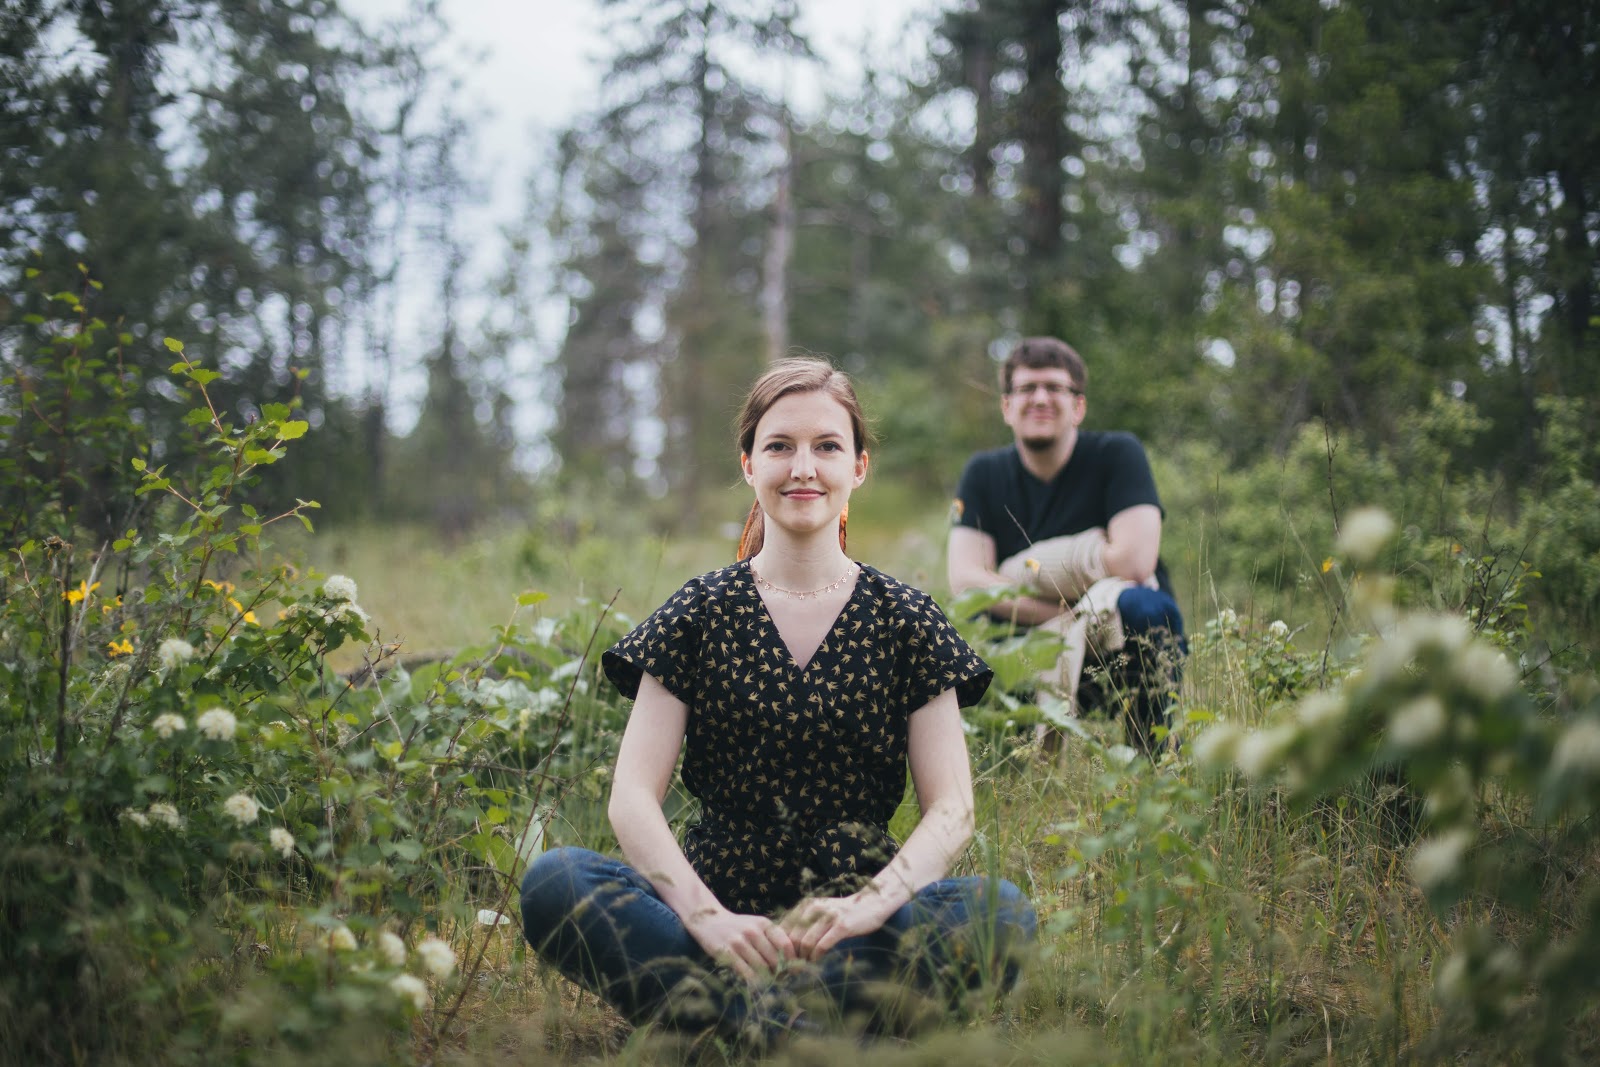
Included with that pattern is a small bum roll and bust pads, which are all worn underneath the corset. Well, when looking at the silhouette, I decided it just wasn't s-curve-y enough. I'm pretty petite as it is, and I'm pretty much the opposite of curvy, so I need all the help I can get.

I was able to get a wonderful silhouette with adding one simple thing: a basic bustle/bum pad atop the corset.

The pattern was simply draped, and I made a quick tutorial which you can find on my YouTube channel.

Here's what the corset with all it's padding looks like from every angle. And below that is a before and after with the additional bumped underneath two petticoats. The difference is subtle, but I'm very happy with it. It still has a natural look to it even though it's definitely a very exaggerated silhouette.


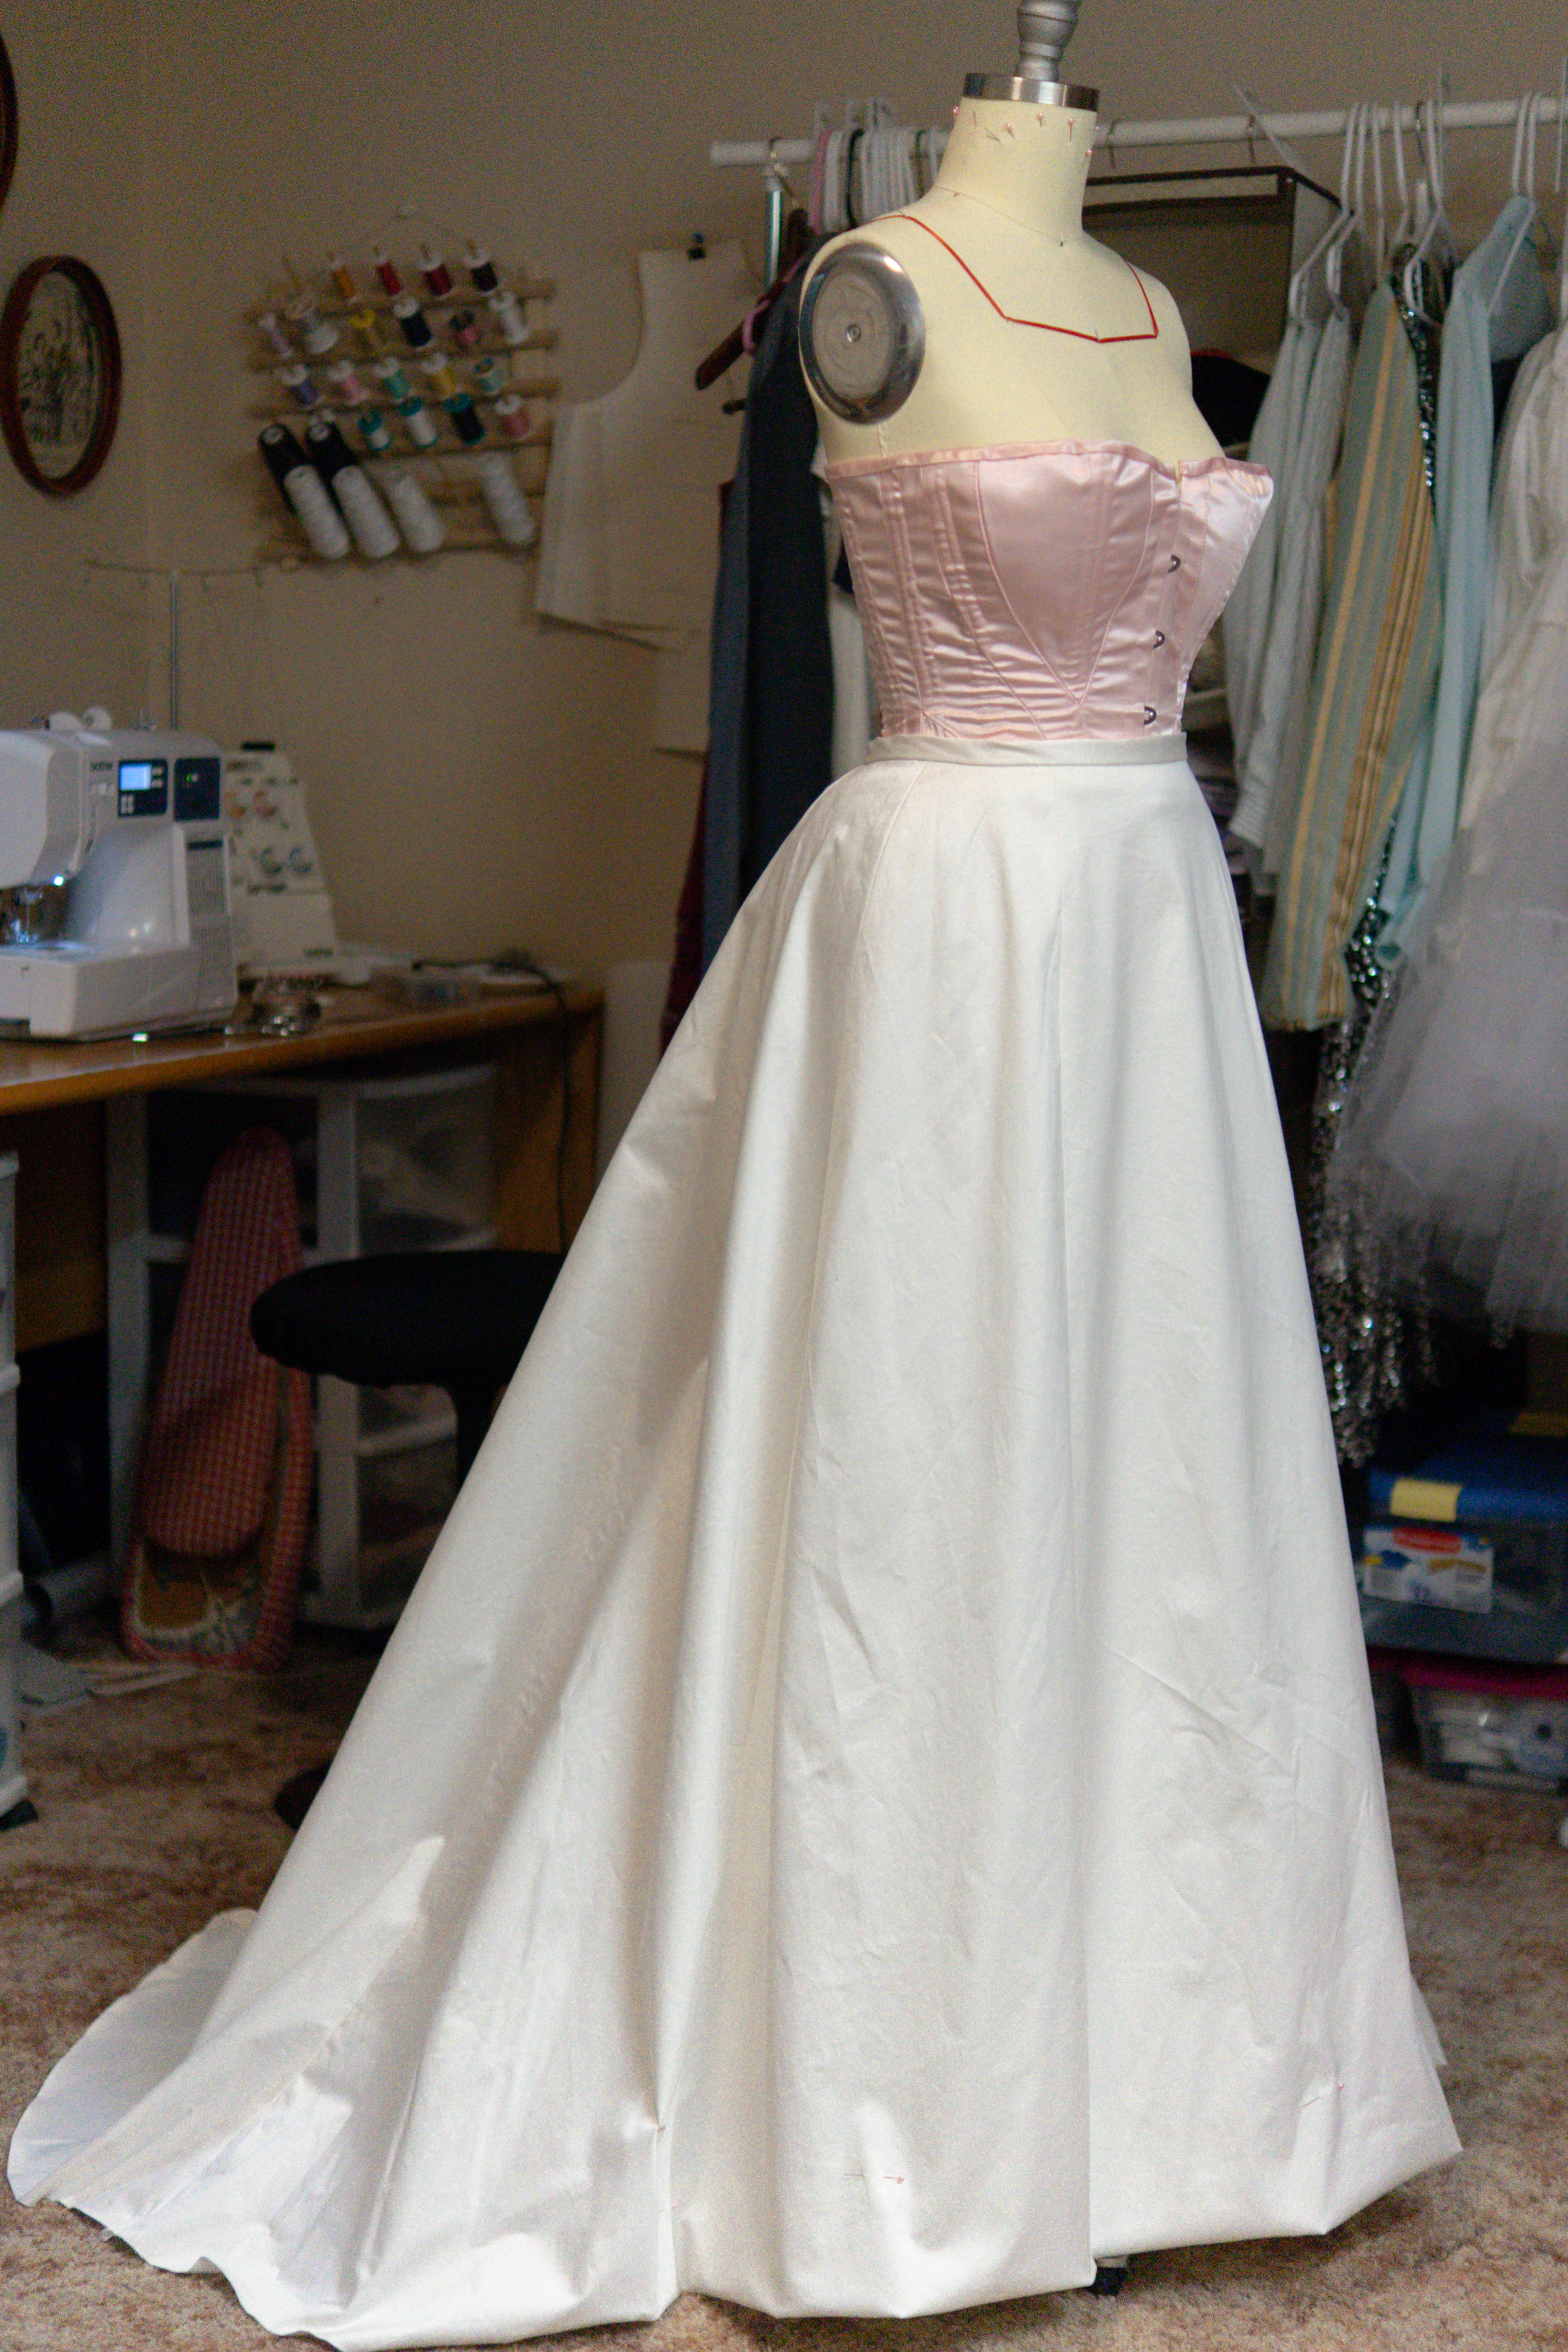
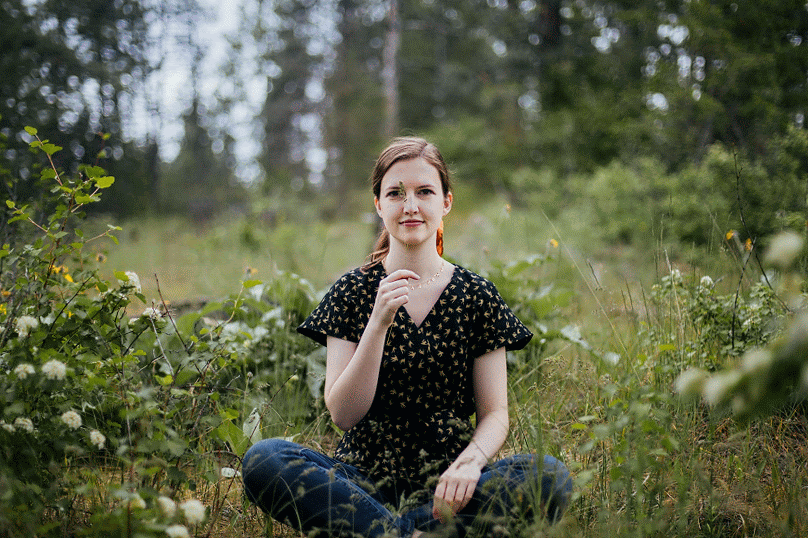
After the undergarments were taken care of I was able to start on the actual dress! I started with the lining. I used the skirt pattern from Butterick B5970, which I also used for the main skirt but heavily modified. It's actually a great skirt pattern, so if you're looking for a classic Edwardian skirt pattern, this is a great option.


The pattern for my bodice is self made, mostly through draping, but I will talk more about that in a later post. For now, here's a peek into what the dress currently looks like.


Overall, I'm happy with how this is coming, even if my fabric wasn't quite what I'd hoped (but I guess that's what I get for ordering online from a fabric outlet). I have hit a bit of a block however with trim around the neckline. My original plan didn't work out the way I'd hopped, so I'm currently searching for inspiration.

Jun 1, 2020

In which I make something for my Everyday Closet | Reviewing Simplicity's New Look 6560

I took a change of pace to create something for my everyday closet, and I'm soooo glad I did! I found this cotton shirting on clearance at JoAnn Fabrics and absolutely loved it! It's solid black with little gold birds, and I've been loving all things gold these last few years, so I knew it was perfect.

Since I wasn't necessarily planning on making something modern, I took a look through the patterns that were on sale that day and found a super simple, but super cute wrap shirt. New Look Pattern 6560 for $2.99.


I ended up going with view C. For sizing, I'm always between 2-3 different sizes with these commercial patterns, but I went with my bust size, which was the smaller of the options, knowing that there would already be some give because of the style, plus these patterns always have (usually too much) ease already worked in. It turned out perfect, and I don't regret a thing!

The pattern came together easily and quickly, despite the fact that I was still fighting a nasty sinus infection when I started it. I had been laying around for the previous two days and needed something to do, so I told myself I could just cut out the pattern pieces. Well, as most projects do, I got caught up and had most of the blouse done within a couple of hours.

Overall I really liked this pattern. It was simple to cut and I only referenced the instructions lightly, as I usually do with commercial patterns since they usually hurt my brain more than prove helpful.


With that in mind, I did make a few small changes. The main one being that I under stitched the front facing. If the instructions said to do this, I completely missed it, but I felt like that was necessary to keep the front nice and flat.

The other thing I did was create two crocheted belt loops and added a snap at the top of the neck to hold everything in place. I didn't like the belt just hanging loose, and I wanted a little more security to hold the neckline closed.


My sister, Sereina Elwert, who's a wizard with a camera, happened to be in town shortly after I finished the blouse, so we were able to go out and get some cute photos. As well as some... interesting ones. It's never a photoshoot without at least one derpy photo and a photobomb, right?


In conclusion, I really liked this pattern and would definitely recommend! I could also see myself making a few more blouses out of it, probably in some linen or seersucker for summer.

Funny story: when I was buying my supplies for this project, I somehow misread the pattern and bought an extra yard of fabric (and it was 60" wide no less!) and was able to get a full circle skirt out of it! When worn together it looks like a cute dress while still being versatile. Unfortunately we didn't get around to getting pictures of the skirt, so that will have to wait until another time.

Mar 31, 2020

Dreamy Edwardian Dresses | Project Inspiration

I've started a new project, and while I'm in the beginning stages of draping/drafting up patterns (AKA the visually boring stuff), I thought I'd share some pretty inspiration for the project.

The project is an early Edwardian era lawn dress. I found a great deal on a pretty pink lawn, which is being shipped and will hopefully arrive soon. I made an S-bend corset last year, and this era of fashion has always been a dream era of mine. It's so soft and feminine and I'm so excited (and maybe just a little nervous) to be diving into it!


This first dress is the main inspiration for my project and what I'm basing my dress off of for the most part (though I'm not trying to duplicate it exactly).

This dress is part of The Met's collection. The gown was designed by Jacques Doucet and is made of cotton and silk.

Below is part of the description from their website:

"Possibly worn by one of New York's finest, Caroline Schermerhorn Astor Wilson, this afternoon dress is a perfect example of couture during this period. The sheer pink fabric, accented with lace and black and pink ribbon trim, is a dress to be displayed at garden parties and the races. Doucet added interest to his work with his use of unusual trims, illustrating his inventiveness and artistic taste."

Dress c. 1903 via the Met

I came across this image of the dress and a portrait that is, at the very least, very similar to the gown. Unfortunately, I couldn't find any information on the painting.

If you look closely it doesn't actually appear to be the same dress. The ruffles around the bottom half of the skirt are striaght, where as on the dress it's almost a scallop edge. And the front bodice appears slightly different. It could be that the artist interpreted the dress differently, or it's a completely different dress. Still, I thought it was interesting and wanted to include the comparison.


Since I'm draping my own pattern this gown has been extremely helpful for me to see the lines of the bodice and to get an idea of how it closes. 

Dress c. 1900-1914 via The Museum at FIT
Dress c. 1900-1914 via The Museum at FIT

And a few dreamy Edwardian fashion plates for inspiration, because they're just so pretty.


Want some more pretty Edwardian inspiration? Check out my Pinterest Board!